First, thank you so much for all your kind birthday wishes! I had a lovely day, first spending it with my oldest daughter who is currently visiting and in the evening together with the nice ladies from the Knitting group 'T Arm Schaap in Zurenborg, Antwerpen.
The other day I made another Crocodile Stitch Flower Brooch when visiting my friend. I also gave her the South Bay Shawlette I recently made with chunky black yarn (I wrote about it in this post) . My friend was very happy with both!
 |
| 04.01.15 Finished Crocodile Stitch Flower Brooch made with Scheepjeswol Stone Washed |
For those of you who are interesting to find out more how I made my Fancy Crochet Bag/Purse I will share this Tutorial with you!

A Fancy Crochet Bag Tutorial
You will need:
A crocheted piece approx 25 cm wide x 30 cm long (I used Fenna yarn and this crochet stitch pattern)
I first mentioned about making this 'sample' piece in this post. Sew up the ends.
Note: I crocheted this sample piece well before I managed to find the metal frame for the bag. I was hoping to buy a more rectangular shaped closure, but they were only available in a gold tone colour which I didn't like for this project.
In hindsight I could have crocheted a more rounded shape (in 2 parts) for my bag. You could do so from the start, if you wish. Remember to add a little seam allowance for crocheting the sides together.

A similar sized piece of material for lining the bag (I used a kind of velour/fake suede material which I found cheap in a charity shop).
Note: Using a more stiff fabric/material it had the advantage that I did not need to add a seam allowance all round. If you use thin fine Cotton for example, you will need to stitch around at least the top part to prevent the fabric later from fraying.
Note 2: You could probably omit the lining if your crochet piece does not have any large holes (The pattern I used certainly makes big gaps between stitches!).
A bag fastening called Bella by Prym (it measures approx 19cm across the pivotal points at the sides) or similar.
Sewing thread that matches the lining plus sewing needle (I used a long darning needle that could go through the stiff lining)
Steps:
Fold your lining fabric in half (pin together) and draw the outline of your bag shape onto it - use the metal closure as a guide for the top part.
Cut out lining shape leaving pins in place.

Fold crochet piece in half (inside out) and arrange edges to make a tapered shape.
I gathered the top edges by inserting a yarn thread into the crocheted edge stitches and pulling tighter. Do not cut the yarn yet. If your crochet edges already follow the rounded bow of the metal frame you do not need to gather anything.
Crochet each side (seam) together, making sure you attach both layers firmly to one another.
(If necessary, sew the seam for the top of your lining before....)
Likewise, sew lining along the side seams just below the point of the pivots of the metal frame. Take care to double check this corresponds correctly to your frame and that the side seams do not go beyond that point or you might have trouble opening your bag fully later on).
 |
| Lining with side seams, Crochet outer with either side seams crocheted together |
 |
| Both layers pinned together |
 |
| Crochet layer and lining sewn together at the opening top part of the bag |
Sew in and out of the frame and make sure the thread is reasonably taut (without breaking the thread!). You can see the stitches pretty well in this picture. After sewing frame and bag once together, you should try to sew it a second time to secure the stitches.
PS: This is the first time I made a bag like this and I did not follow any instructions, would you believe! I thought I was going to glue the bag to the frame, but sewing it instead seems the better option, especially since the crochet makes it a bit too bulky! (Hope this answers your question, Birgit!)
Your bag is ready!!!

A Walk in Zemst
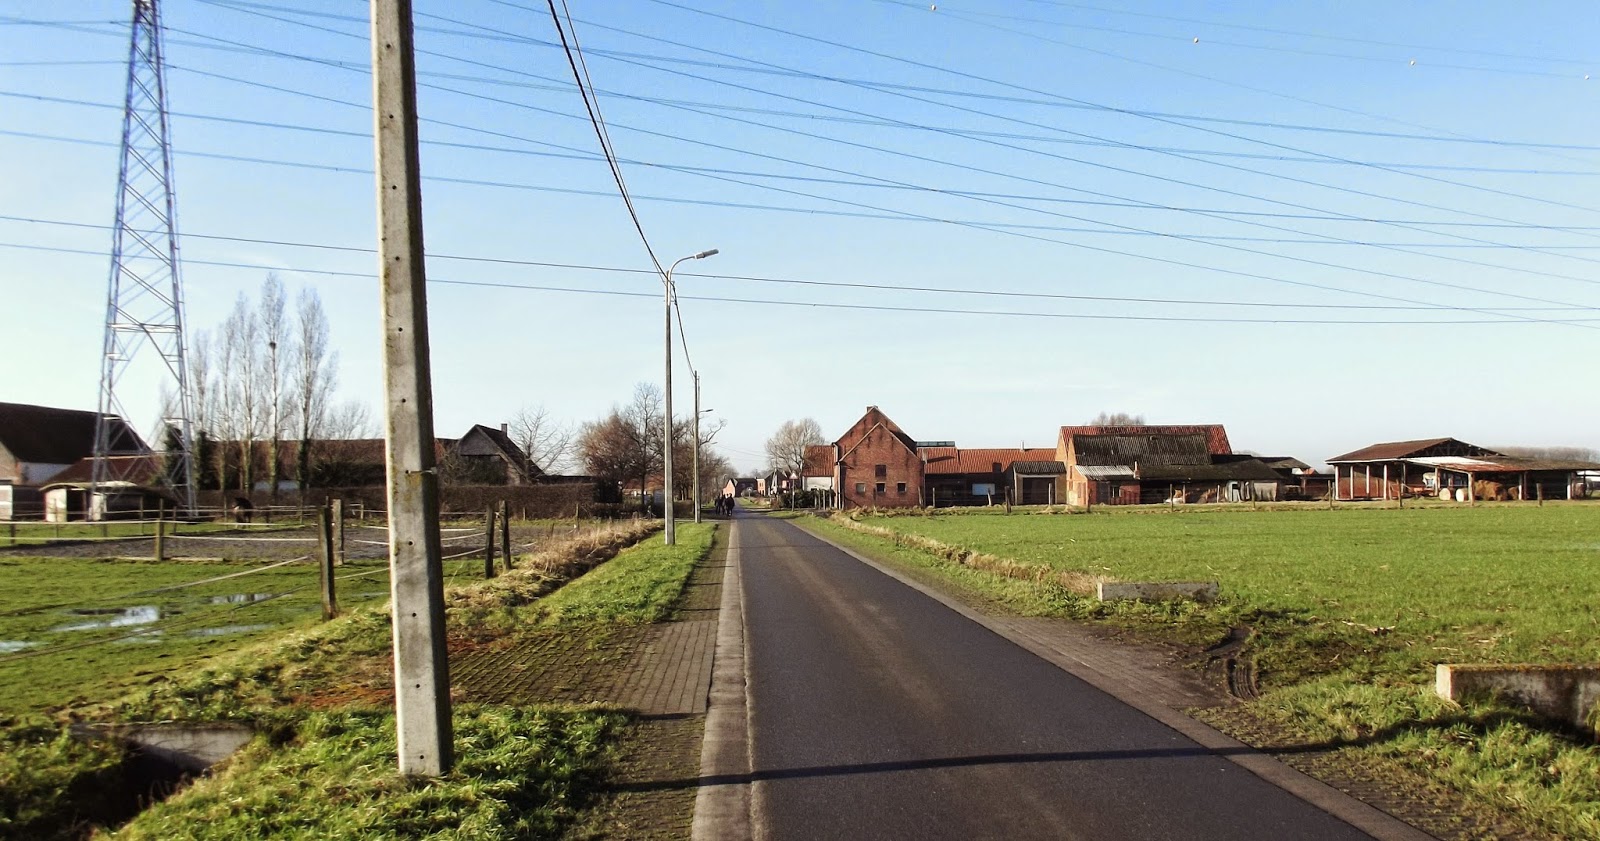
On Sunday my partner and I went on an organized walk in Zemst near Mechelen. Here are some photos I took.
 |
| Start and Registration Point in Zemst |
 |
| Walking across countryside |
 |
| Scenic Interlude with Swans |
 |
| A field full of Brussel Sprouts! |
 |
| Chickens |
 |
| An amazing tree with red berries |
 |
| A majestic double alley of trees... |
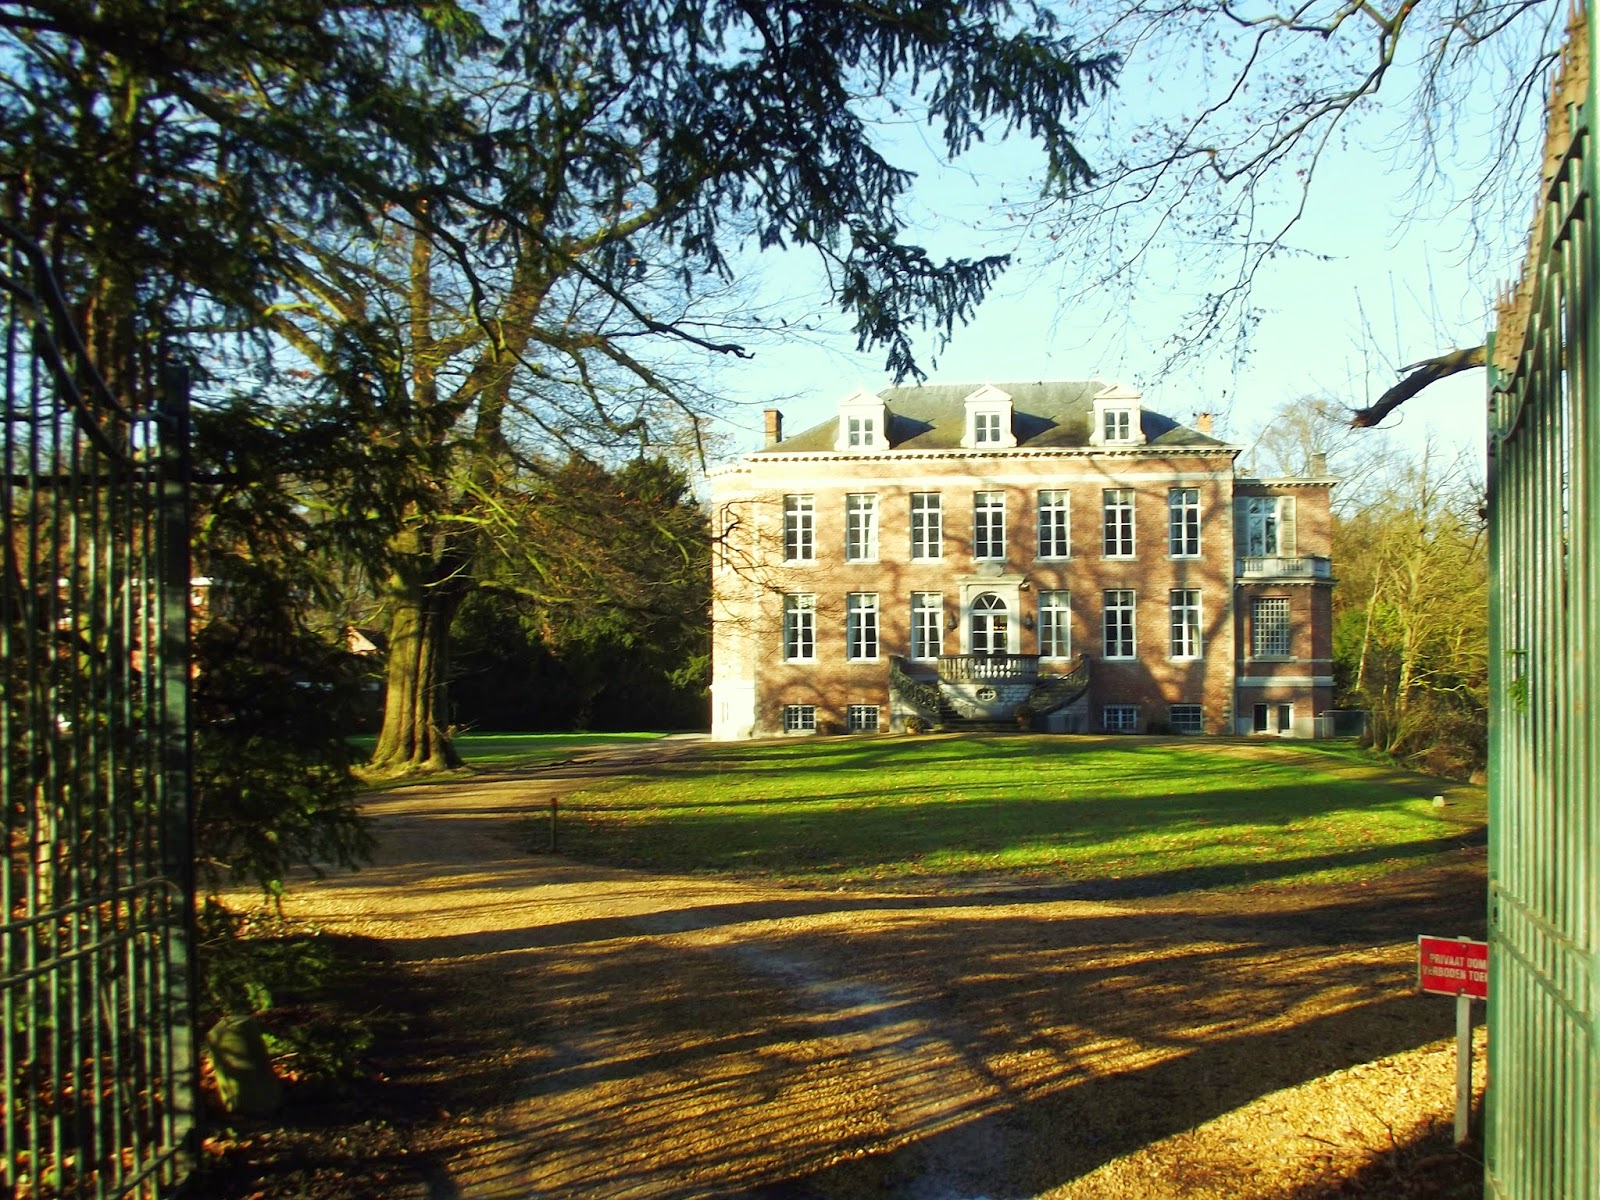 |
| ...and the beautiful castle at the end of it! |
 |
| Walkers everywhere! |
 |
| My refreshing break at the control point after 4.5 km |
 |
| Turning back towards Zemst |
 |
| The route of our 7.5 km walk |
Finds for my Wool Stash
On Monday my daughter and I went to the charity shop and I came back with a small bag of mixed yarn! I got now at least

It included some Vintage Phildar Wool. I really love the label!!!
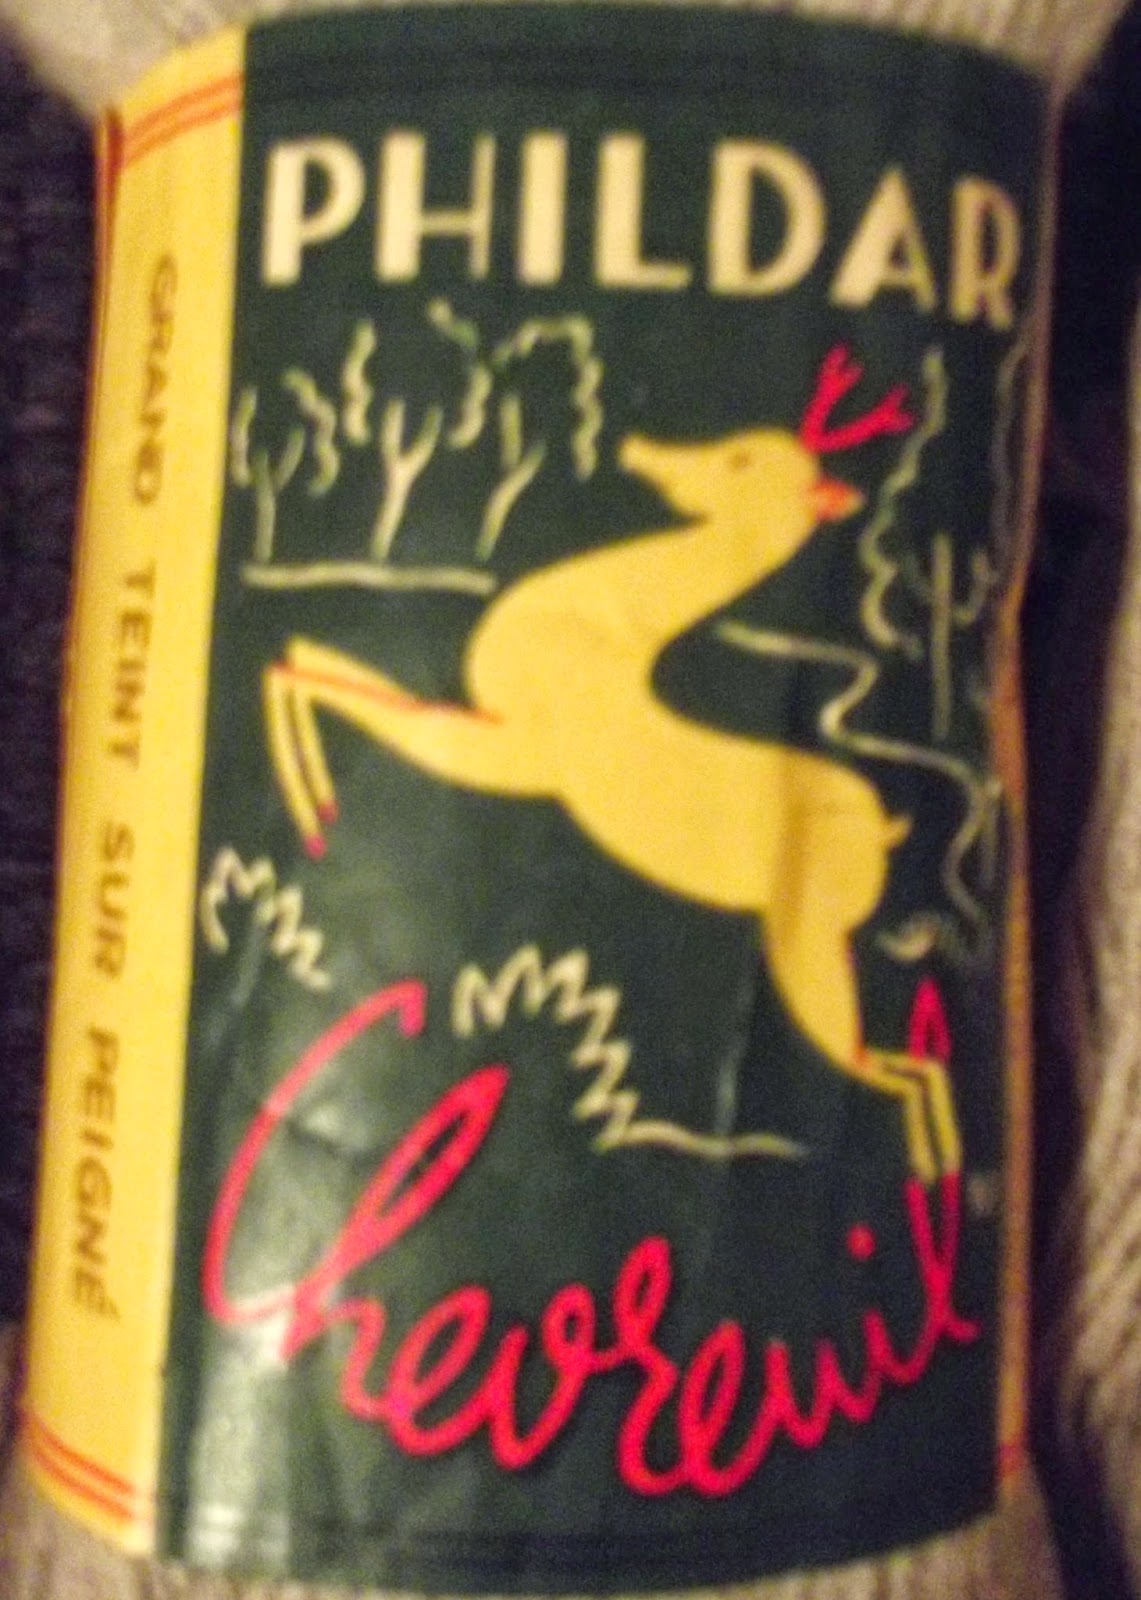 |
| Front and Back of the Wool label |

Hope you enjoyed reading this bumper length post!!! If you are making a similar bag and got any questions, please ask!
Feel free to leave me your comments below, I love reading them!